Spring in a Jar: Homemade Strawberry Jam & The Art of Water Bath Canning
Spring has sprung, and so have the strawberries! Fruit picking season is officially here, and what better way to welcome the warm weather than by canning some of this spring goodness to enjoy late into the year?
Last weekend, I had the pleasure of going to one of my favorite fruit picking places in Georgia. Southern Belle Farms is about an hour's drive from where I live, and yet I still find myself making the trip two to three times a year. There is nothing quite like rows of fresh, sun-ripened berries to make you feel connected to the seasons.

The Magic of Water Bath Canning
Canning is an incredible way to preserve fresh produce, extending the flavors of the harvest for sometimes up to three years. For high-acid fruits like strawberries, we use a method called water bath canning—a simple process of processing submerged jars in boiling water to create an airtight, sterile seal.
If you've never canned before, don't worry! Here is exactly how I turn my fresh-picked Georgia strawberries into a rich, sweet jam.
Step 1: Prep Your Equipment
Wash, thoroughly dry, and disinfect your jars and lids. Keeping everything sterile is the secret to a long shelf-life.
Step 2: Clean & Slice the Fruit
Start with fresh fruit, thoroughly cleaned of any dirt or debris. Slice your strawberries and discard the green tops (which, by the way, are fantastic additions to your compost bin!).
Step 3: Mash
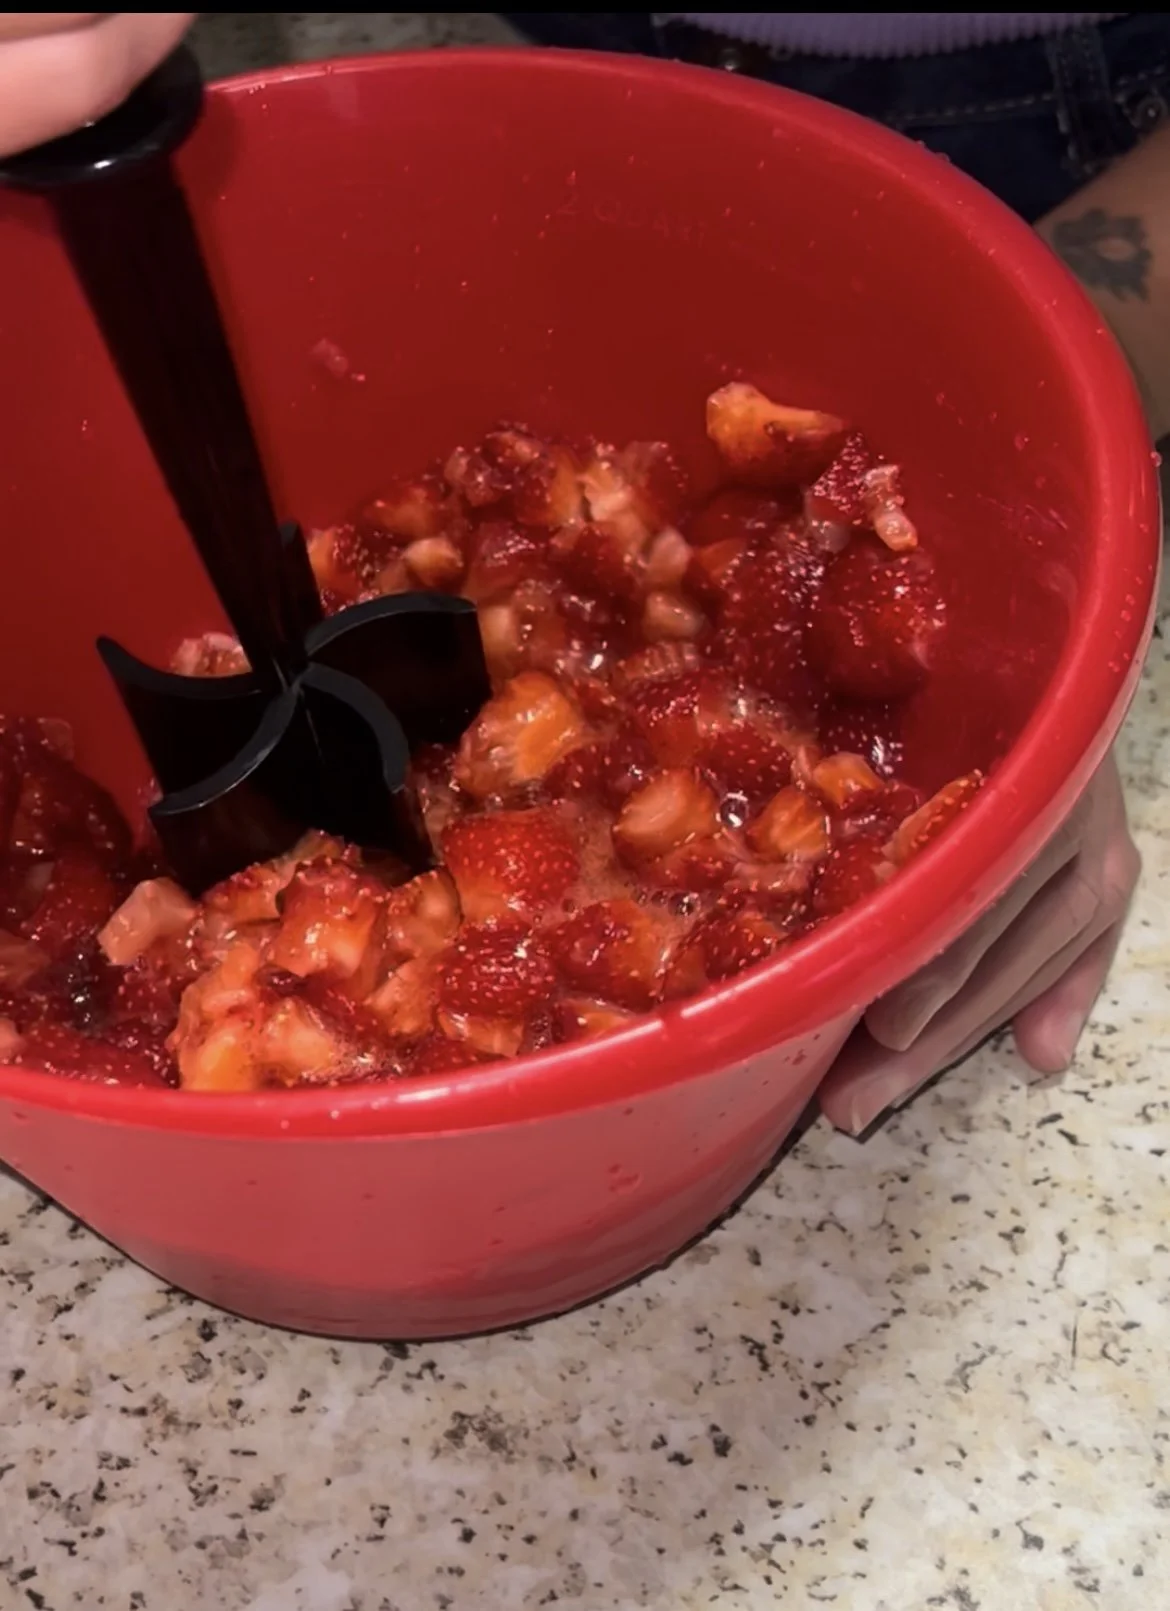
Using a potato masher or fork, mash your cut-up strawberries until they reach your preferred jam texture.
Step 4: Heat the Mixture
Combine your pectin with the mashed strawberries in a pot and begin to heat it on the stove. Bring it to a warm temperature, but do not let it reach a full boiling point yet. Once it's hot, stir in your sugar.
Step 5: Jar the Jam
Carefully pour the hot liquid into your freshly disinfected jars, leaving a small amount of space at the top. Wipe the rims clean, place the lids on, and secure the bands.
Step 6: The Rest & The "Pop"
Process the jars in a boiling water bath, then carefully remove them and let them rest undisturbed for 12 to 24 hours. Listen closely—you are waiting to hear the satisfying pop of the lid.
Pop = Sealed Can = Safe to Store.
If you don’t get that satisfying pop, do not try to repeat the canning process. Instead, simply pop that jar straight into the fridge and enjoy your delicious, fresh jam right away!
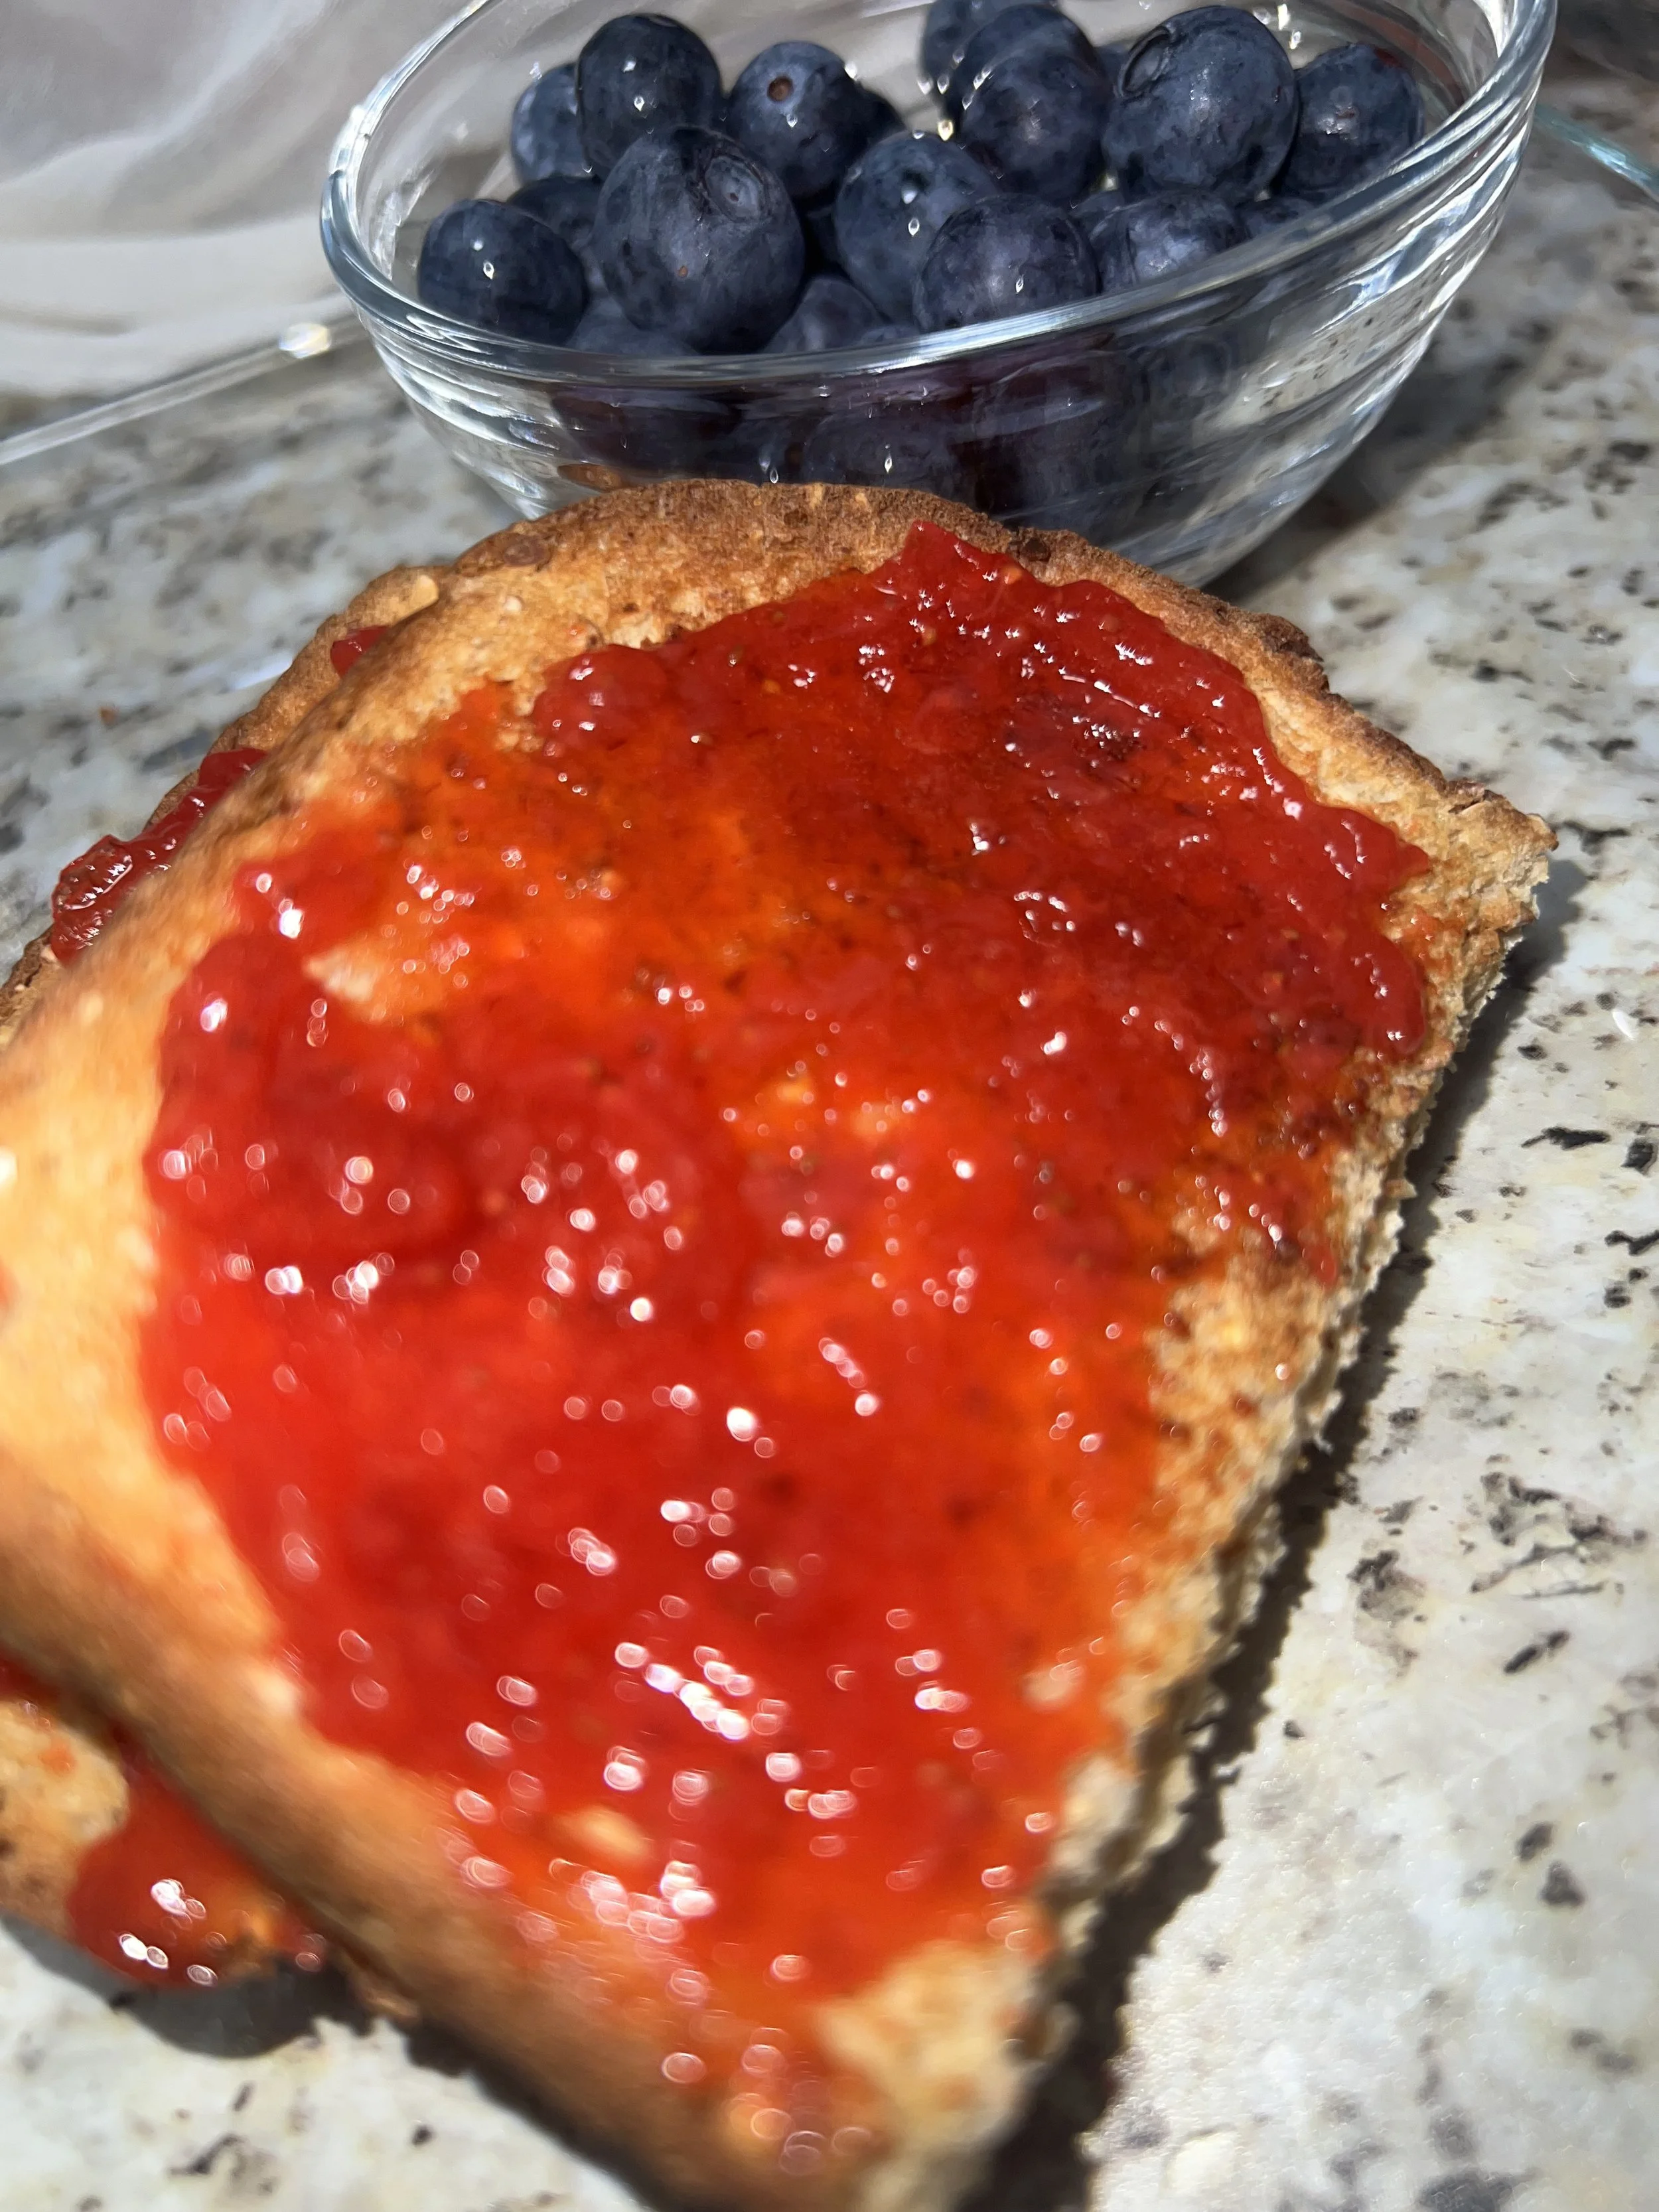
Storing Your Harvest
Make sure to label your jars with the name of the batch and the date. Properly canned strawberry jam can last for up to three years when stored in a dark, cool environment like a pantry. It makes the perfect addition to a morning tea ritual, a slow weekend breakfast, or a thoughtful gift for friends and family.
Join the Conversation
I want to hear from you! What are some of your must-try strawberry jam recipes? What else are you planning on canning this year? Let me know in the comments below!